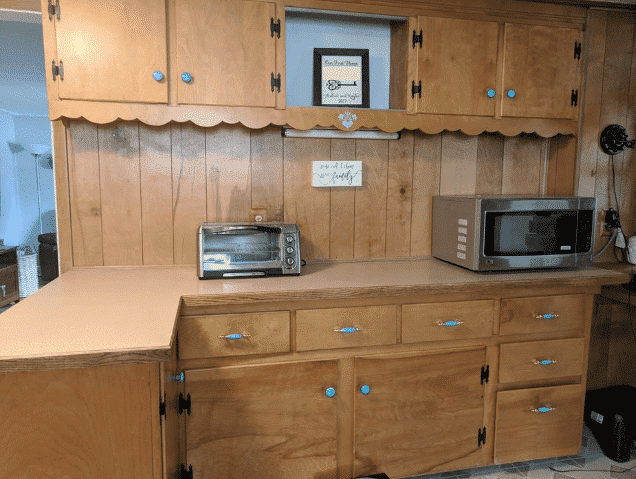
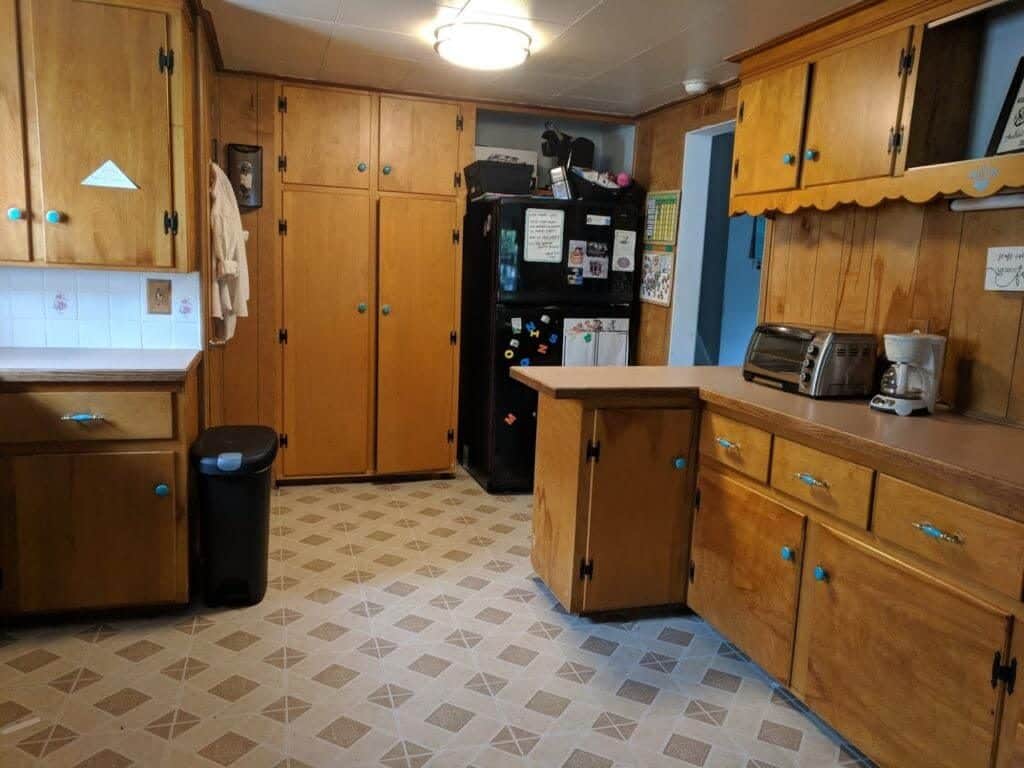
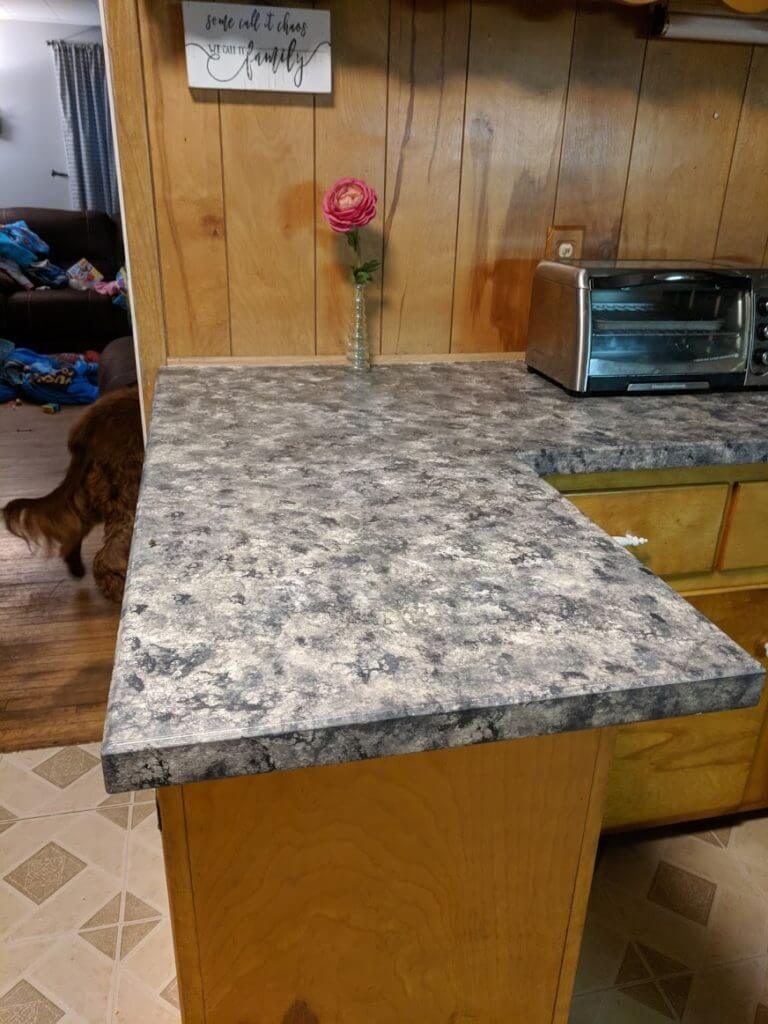
Do you have guests or friends coming over? At the nick of the hour, you may neither be in a position to hire painters to laminate shabby-looking countertops nor would it be possible for you to buy brand new supply kits online. You may have to go for a DIY project to get the job done.
You may have to prep up on what these steps are. And along with that, you may have to analyze how much time it takes to paint or laminate countertops using a professional degree of expertise. As a first-timer, you must also know how much time it will take for the coating of paint to dry up completely.
Moreover, you might have painting kits available on your attic shelves. Or, you may find scores of sandpapers available at your homes. Or, you have glue sticks or a few materials that are easily available at home.
Let us unveil the steps on how to start painting laminate countertops without using a kit. Shall we get started on the same?
1. Discover the Initial Preparatory Steps That Are Involved
Initially, you have to come up with a proper plan before you aim to bring it to perfection. You may have to decide what kind of materials you are going to use for the project that is involved. The color and design semantics of your kitchen decor has to be determined in advance.
You may have to decide the turnaround time that is involved with each stage of painting. These are:
- working on a primer
- actual painting
- working on the top coat of the painting or laminate
Once you have embarked on a proper strategy, could you put your litmus test into action?
2. Practice Your Strokes with Painting
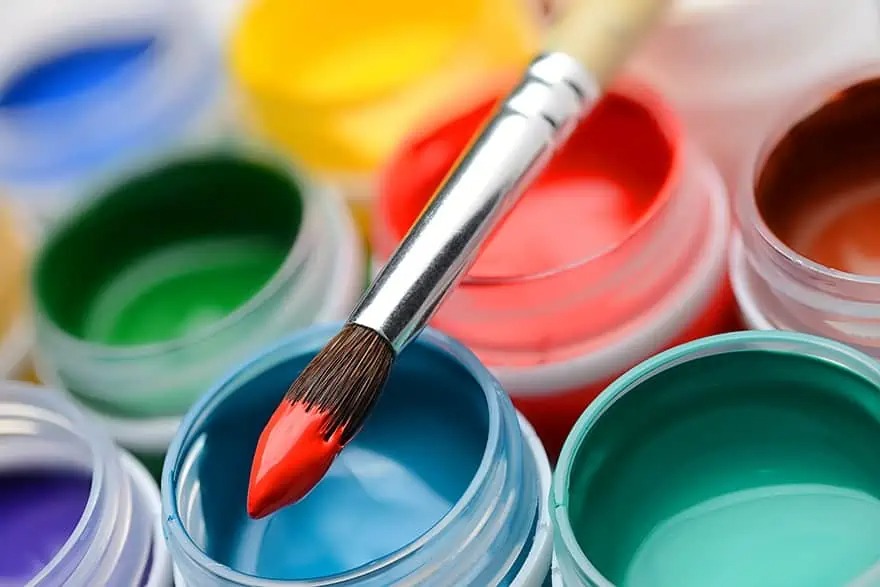
Here is the next important step you must get hands-on to. You must have to start painting. You can try old cardboard boxes, like shoe boxes or cereal carton boxes. Do you have ice sponges at home? Try dabbing on paints to ice sponges.
This way, you practice your strokes with painting. Plus, you get to play with different color combinations too. You can use acrylic paints or fabric paints before you try the distemper painting, after all. In a nutshell, learn how to paint easier surfaces so that you have no trouble working with cabinets or countertops.
3. Prepping up The Surfaces
The third important step with respect to the process of painting laminate countertops is here. In order to make ready the surfaces, you may have to clean surfaces near the cabinets or countertops of your kitchens or bathrooms. The initial step would be to degrease the surfaces. You can use a TSP solution that aids you in cleaning surfaces before you actually begin painting.
Using a TSP cleanser is a mandatory step you may need to perform before you start painting on wooden or metallic surfaces. You may then have to sand the surfaces lightly. You may have to use sandpapers that measure a grit value of 120 and above, as you do not want the surfaces to look too coarse.
4. Use Tape to Cover the Surfaces Surrounding the Cabinets
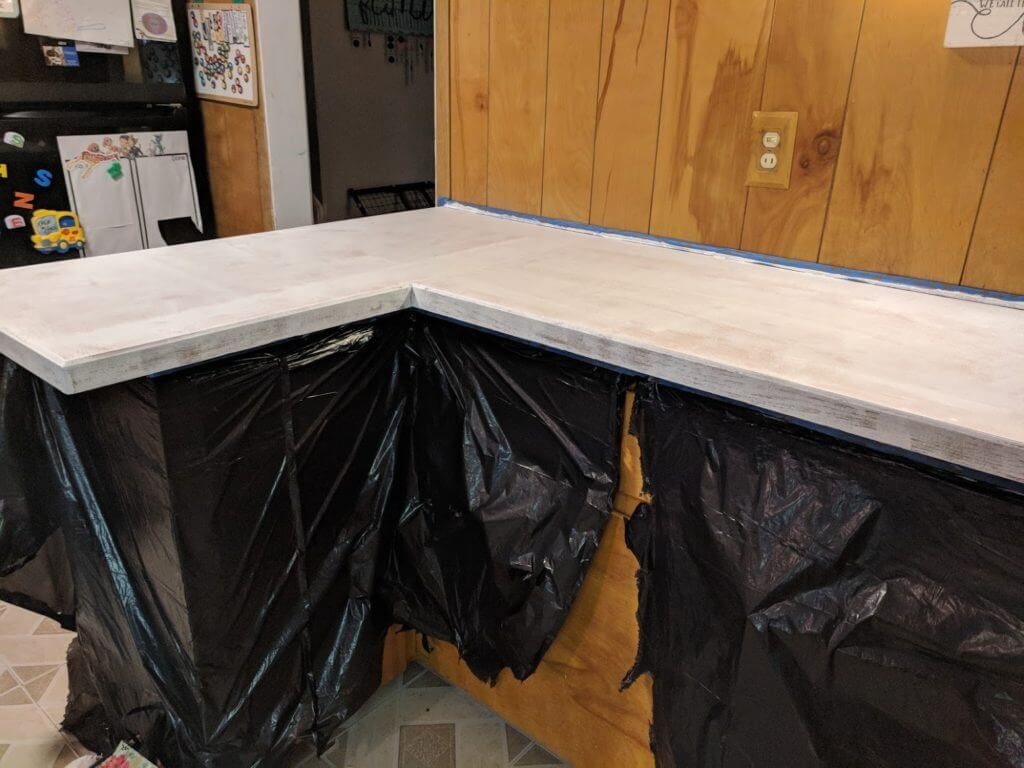
You may now have to cover the cabinet surfaces or your kitchen countertops using tape or too. Use painter’s tape or duct tape for a more professional touch. You can use paper bags or flimsy cardboard boxes to cover the top surfaces of cabinets or kitchen tops.
This is because you do not want the excessive paint to smudge onto the walls or surrounding areas where you want to get painted. You would want to have a neat finish post the painting process. Hence, covering the cabinet surfaces with tape is a step you may have to go in for.
5. Apply a Primer Coat on The Cabinet Walls
You can apply a primer coat on the cabinets or kitchen countertops. You would not be in a position to apply latex or distemper paints, after all, directly. You need a base for the paint or laminate to stick. This is the primary reason why you would need a priming coat to be applied to the surfaces that require painting.
As kitchen cabinets or sink tops have a lesser square foot area, it is easier and less time-consuming to get the priming done. You must apply the first coat of primer, and it hardly takes about 15-20 minutes to get the job done. After an interval of about 20 minutes, you can apply the 2nd coat of the primer. By doing so, you establish a solid foundation for the paint or the varnish to blend easily with the surfaces that are involved.
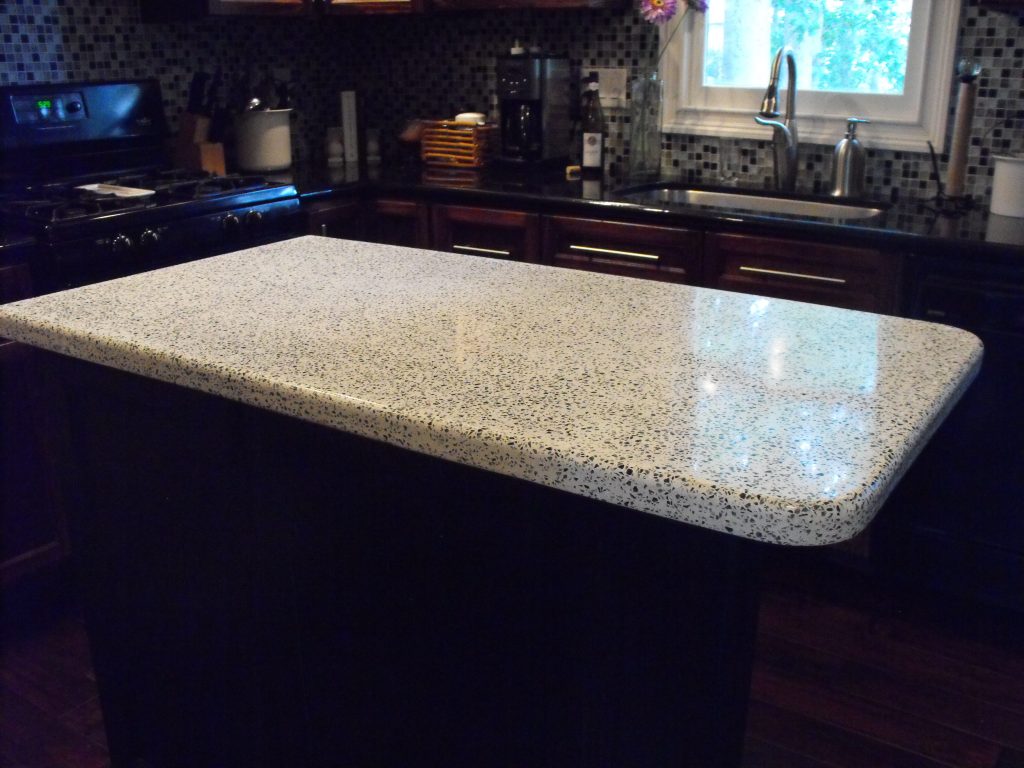
6. Paint the Granite Surfaces Completely

You can dip your sponges into the paint cans. You can start painting via smaller sections. Try dipping your sponge in one or two colors than dipping through with the whole lot of them. If you are a beginner, then it is better to take things a little slower.
If you want to develop a whole lot of patterns, then you can dip your sponges into each of the paint cans. However, it is advisable that you do not overdo the process. You may have to rinse out the sponges occasionally. When you do not get them rinsed off periodically, then too many colors get smudged onto the painting brushes. The resultant factor is that it becomes a complete mush, and you would want to avoid the same.
7. What Do You Do Next
Once you rinse the sponges out, you can kind of wring them out. This way, you can get the excess water or paint drained out. You can have some paper towels handy with you. The excess water or paint can be allowed to drain into paper towels or napkins.
You can also gently squeeze out the excessive paints or liquids onto your napkins. This is done as you want to keep the premises neat and tidy. Applying paints in sections also helps you organize the colors with a better degree of precision, and you get clarity into what you are doing.
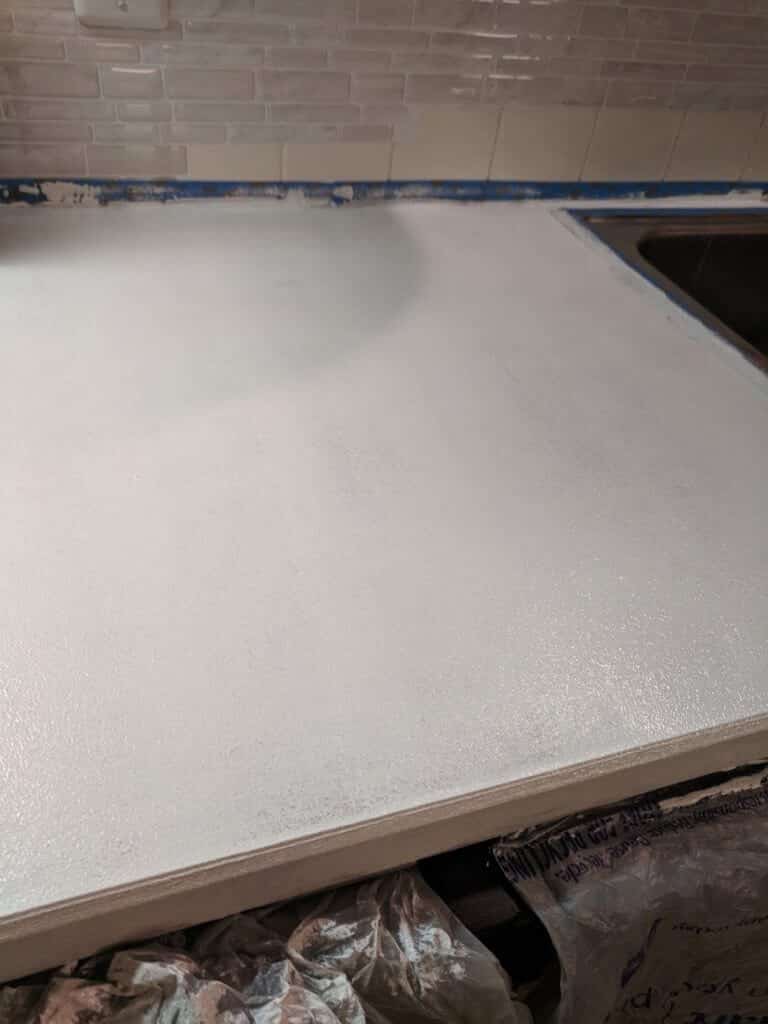
8. Finally, Seal Painted Countertops
You must necessarily seal the countertops once you have painted the kitchen surfaces or countertops. As with acrylic paints that are mostly water-based, the paints may wane out pretty quickly if you do not seal the painted areas using the correct type of sealer.
You have three different types of sealers that you can go in for. These are epoxy, polyacrylic, and polyurethane. Each of these sealers has different properties in terms of their applicability and chemical compositions. Let us look into each of these sealers in detail.
9. Various Sealers with Their Chemical Compositions
You have three different types of paint sealers. You must understand the chemical composition that goes into each one of them. Helping you understand further:
- Polyurethane– This is a kind of sealer that has a stronger dosage of chemicals added to it. Henceforth, the countertops or kitchen cabinets can yellow up pretty quickly. Therefore, this is not a suggested seal one can go for.
- Epoxy– Again, epoxy is also a little complex to deal with. The chemical components the sealer has, do not make it convenient for stay-at-home mums to deal with. Moms who have little kids at home find it difficult to work around with a sealer like epoxy.
- Polycrylic– This is the best type of sealer that works well with acrylic paint tubs. You find that this is water soluble and relatively easy to deal with.
10. Why Is Polycrylic the Best
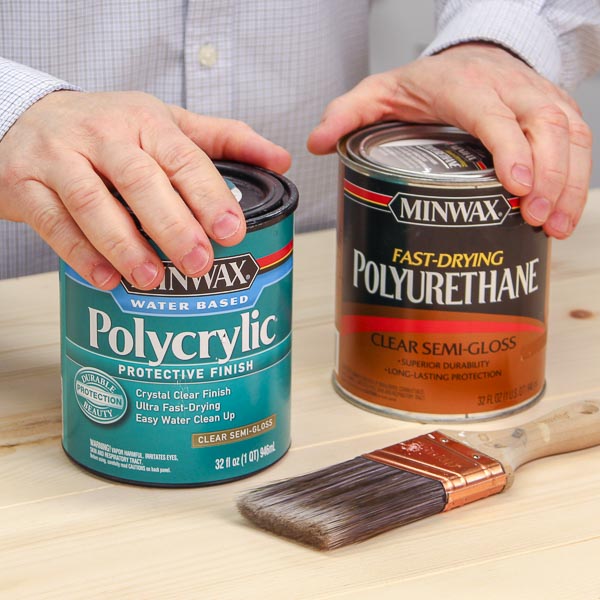
Polycrylic is the best because of the following properties this sealer is endowed with. Let us look at each of them here:
- Polycrylic is a water-soluble sealer that works best with acrylic paints. The water base helps you apply the sealer quite easily. At the same time, the sealer spreads out quite evenly on acrylic paints.
- You may just have to watch out for tiny puddles around the edges or too. The puddles that collect near corners or edges due to the application of the sealer may have to be looked into. You may have to wipe them clean using a towel or a linen cloth.
- Although the sealer does not give out pungent fumes, you may insist on opening the window or running the fan for some time.
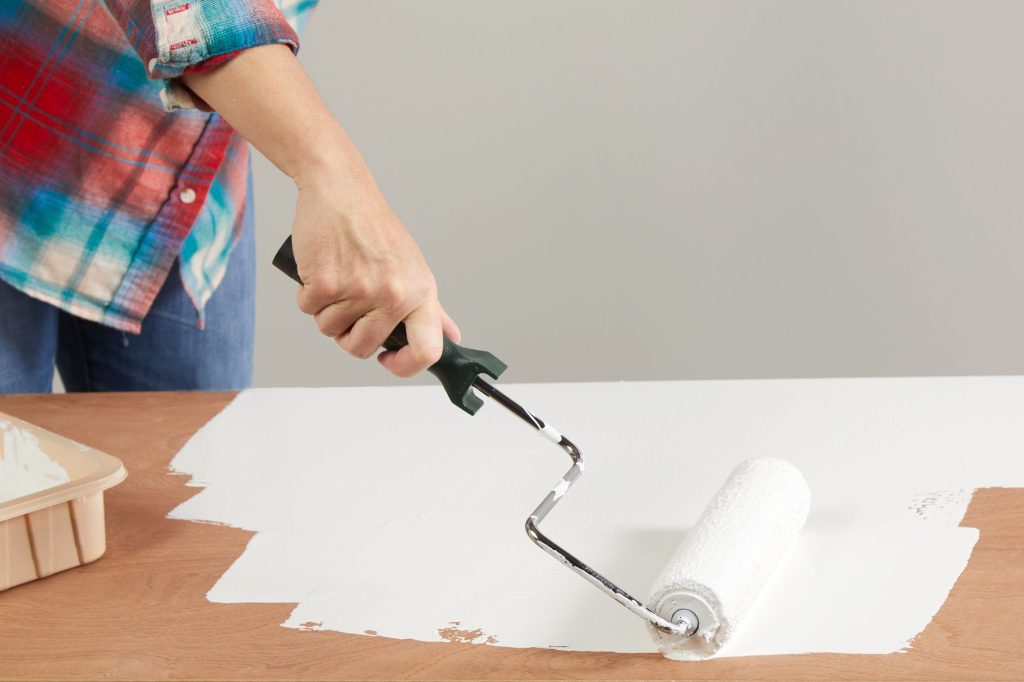
- However, you have a con that is attributed to using polyacrylic as a sealer. You may not get the shine or gloss for your countertops you get while using a sealer like epoxy. With polyacrylic, you may have to use roller foam brushes and at least go for three coats across cabinets or kitchen tops to get the sheen or gloss you are looking for. As a process, the application can be quite tedious and time-consuming too.
11. Get the Final Outcome
Once you follow these steps, you will get a shiny outcome to painting laminate countertops. You can have a satisfied feeling of getting things done from start to finish. Here, you have used the most basic materials you may have accumulated while you painted your walls last summer.
You have acrylic paint cans for your kids’ summer camps too. Therefore with the minimum available ingredients, most of them that are sourced at home itself, you paint and laminate countertops the sassiest way you have ever wanted to.
Summing It Up
All in all, it is always fun and engaging to paint laminate countertops using creative ways. You can have DIY projects installed the way you had in mind. There are no fixed dos and don’ts to getting it done DIY style. You can prep up materials without buying the brand-new painting or starter kits to get things done. If you have acrylic paint cans, you can make use of the same.
If you have distemper paint tubs, you can paint countertops or walls the professional style. You can use paint sponges or ice sponges that are available at home.
This way, you can get the painting or the laminate done in a cost-effective or budget-friendly manner. To make things even more exciting, you can involve your kids and other family members to get splashy with colors or design semantics. This way, you can have fulfilled weekend get-togethers in getting the painting work done.
Above all, doing things DIY adds personalized satisfaction that you have done the project from start to finish.
0 Comment
https://potofu.me/pd0v6d5u https://beta.cent.co/lost1587/+ln4aky https://gratisafhalen.be/author/lost1587/ https://www.bourse-du-sport.com/author/lost1587/ http://www.annunciogratis.net/author/lost1587