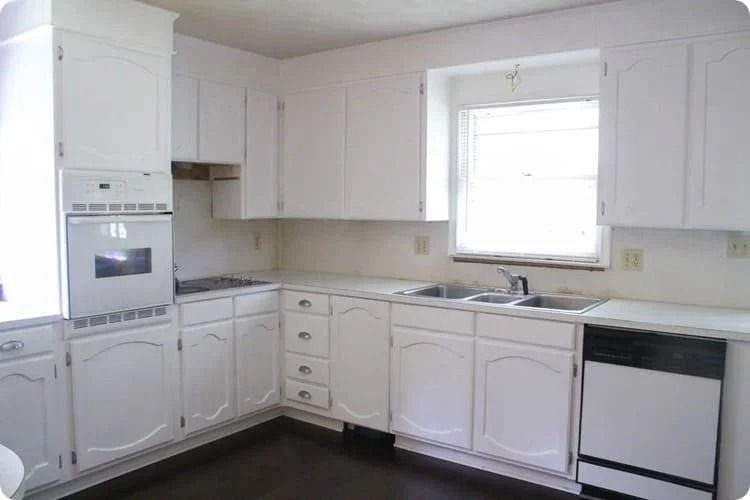
Is your kitchen cabinet looks outdated and shabby? Then it is time to revamp it to make your kitchen ambiance lively again. Also, nothing can be better than painting when looking for an easy and convenient way to style your kitchen cabinets. Painting your kitchen cabinets is an easy and fun-filled DIY project that does not cost too much.
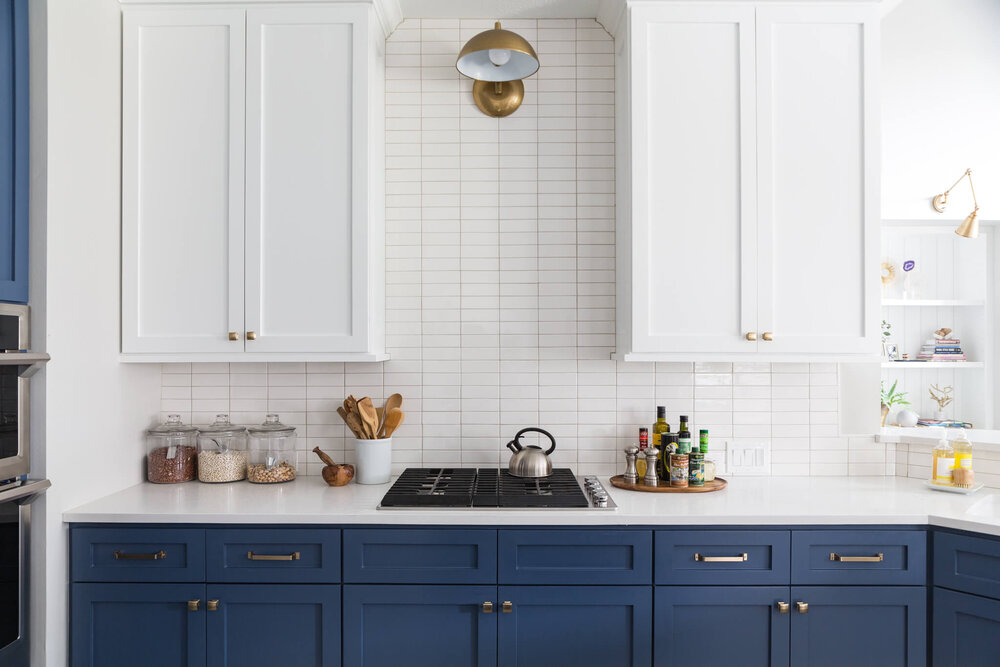
White is the most common and widely used color for kitchen cabinets. Most people prefer to use white paint for their kitchen cabinets as it gives a casual and elegant look and goes well with almost every interior design and building architecture. But you can only make the most of it by following the proper technique and using the right equipment.
Below we have shared the best tips for painting cabinets white for your kitchen. We will also discuss appropriate steps to paint cabinets and a list of equipment you need to paint your kitchen cabinets.
How to Paint Cabinets White?
Suppose you plan to paint your kitchen cabinets to improve their look and brighten your kitchen interior. You can make it possible if you do the task with the right tools and techniques.
Follow our step-by-step guide for painting cabinets white.
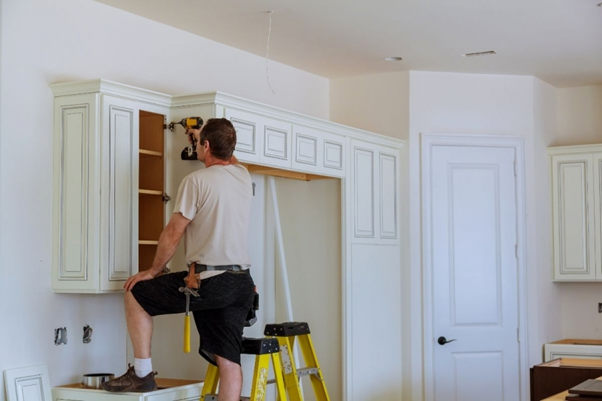
Step 1: Take Drawers and Doors Out
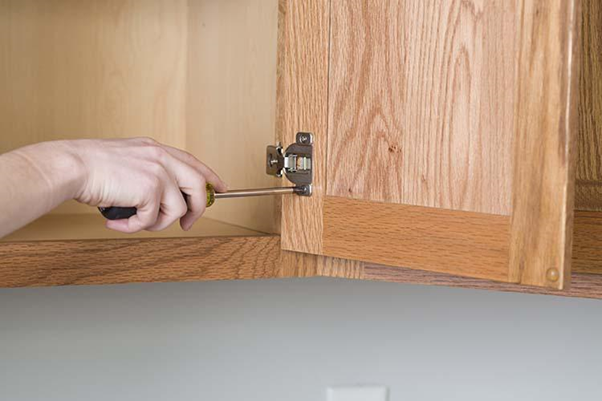
To start your cabinet painting DIY project, you must take all the doors and drawers of your kitchen cabinets off. You must also remove all the hinges and knobs before you start painting. Use zip-top plastic bags to keep all your hinges and knobs safe. You can also label them individually. It will make it easy to identify the hardware parts later when you want to attach the doors and drawers. But if you are only painting the outside of your cabinet, you do not need to take the hardware parts out.
Step 2: Sketch a Map
Like any other DIY project, you must create a map or work blueprint before you initially begin the task. Planning is also essential for hassle-free work. Also, you should create a map if you have a large kitchen space filled with wall cabinets and shelves. It will help you with the troublesome job of remembering each door and drawer. So, take a marker and paper and draw a blueprint of your kitchen cabinets before you paint them.
Step 3: Scrub up The Surface with Sandpaper
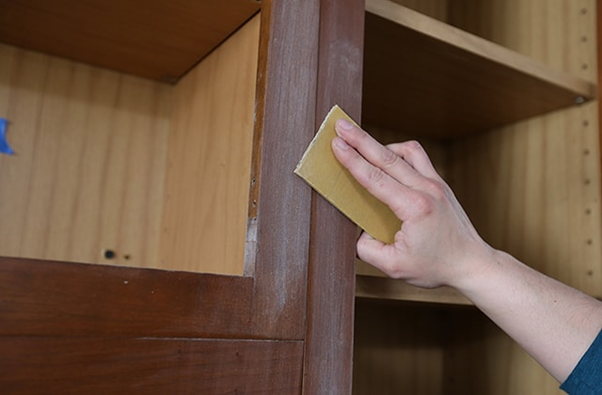
Once you have removed all cabinet doors and drawers and sketched a map for your work, it’s time to prepare your cabinet surface for the painting. Painting cabinets white can give them a gorgeous look, but you must scrub off the gloss finish before you repaint them. Scrubbing off the old paint or gloss is essential to make your new paint smooth and long-lasting. Still, you do not need to go overboard, or else you will hurt your cabinet’s surface. Doing a little scrub with sandpaper is enough to remove the gloss.
Step 4: Wipe the Wood Surface with a Deglosser
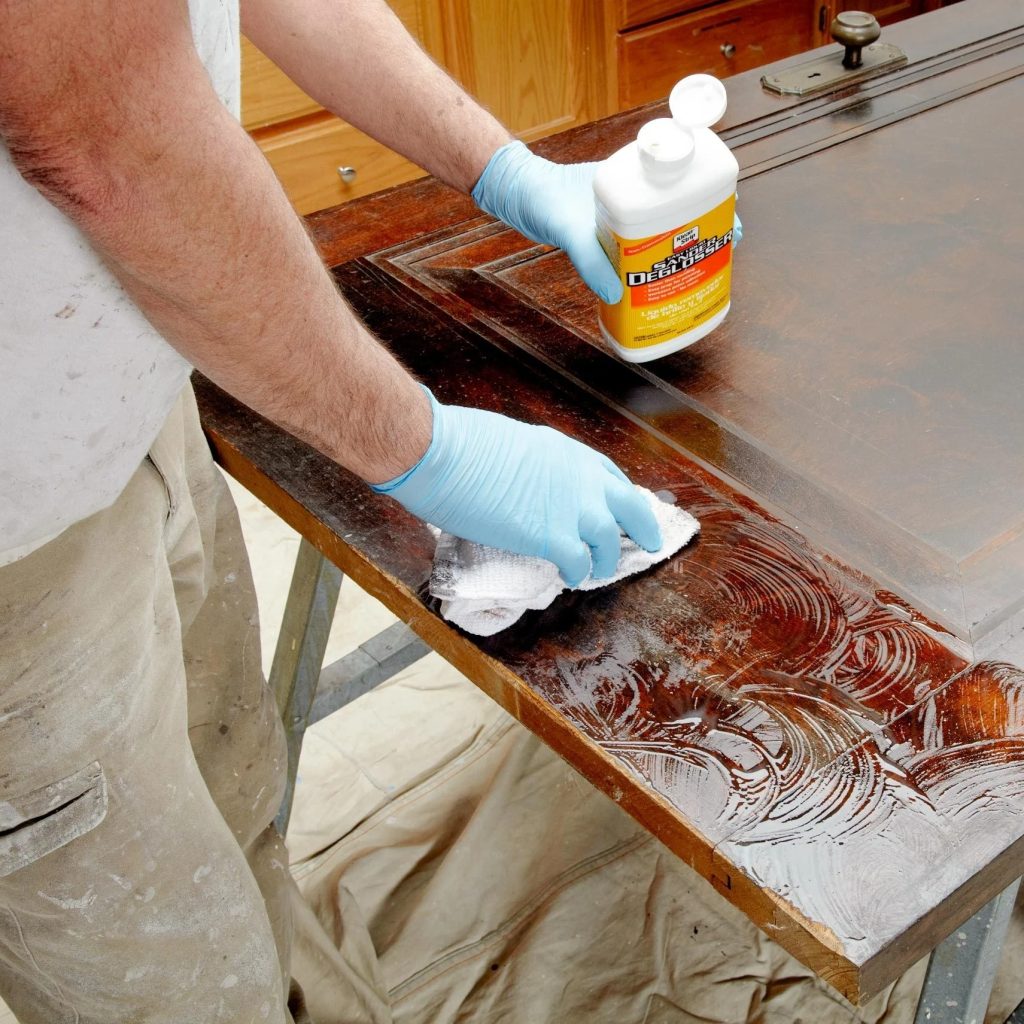
The next step you should follow is wiping the wood surface with a de-glosser. Use a high-quality de-glosser like KRUD KUTTER GO32 Gloss-Off and a microfiber cloth to wipe the cabinet’s surface. You should also wipe the doors and drawers of your cabinet with the de-glosser. In addition, you must also ensure no greasy or stickiness is left behind. Remember, if any greasiness is left unnoticed, it will hamper your painting task, and the paint’s quality will deteriorate.
Step 5: Prepare It with Painter’s Tape
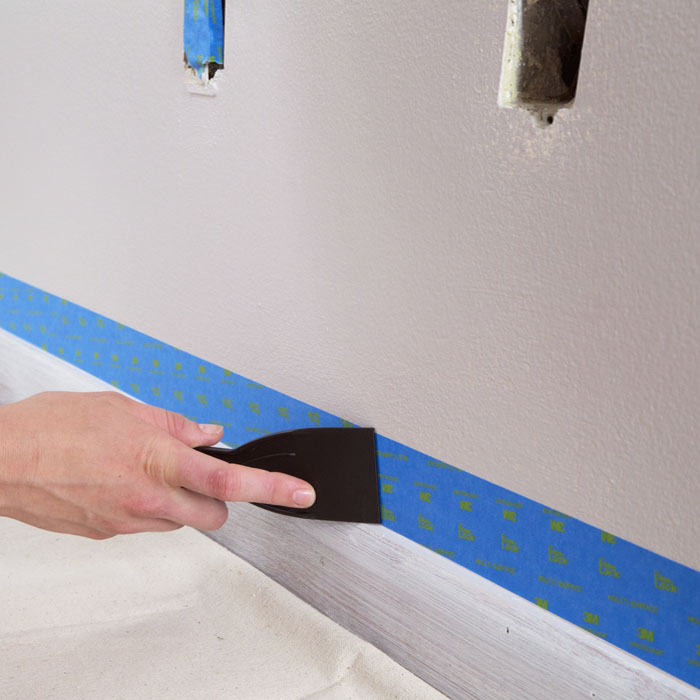
After you wipe your cabinet’s surface, doors, and drawers with the de-glosser, you can move to prepare the surface with painter’s tape. Using painter’s tape is best if you cannot handle paint well. You can tape the inside and lip of your cabinet as well as the front of your drawers and doors. It will help you get a clean and neat look when you finish your painting. We suggest you use painter’s tape for painting cabinets unless you are a pro at DIY or painting.
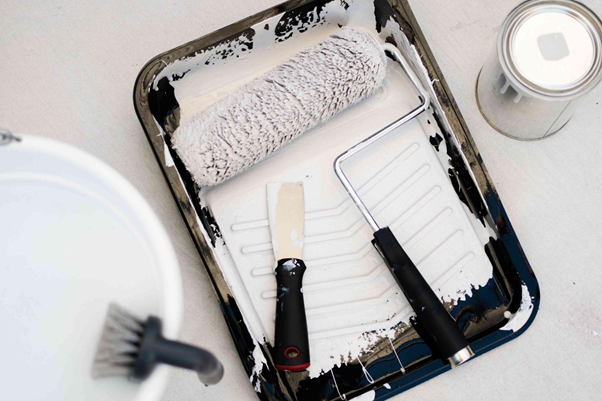
Step 6: Prime All the Surfaces with a Brush or Roller
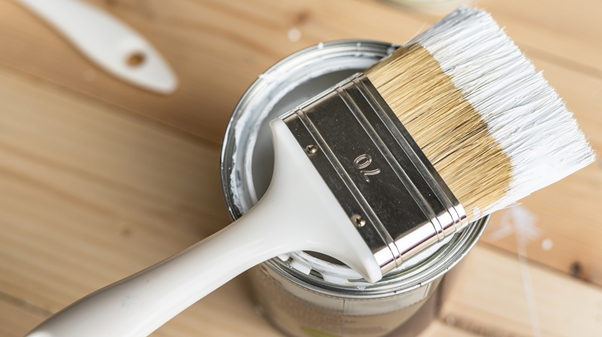
The next step in painting cabinets white is to coat all the surfaces of the cabinet, its doors, and drawers with a rich latex primer. You can prime your cabinet’s surface with a paintbrush or high-density foam rollers. Coating your cabinet’s surface, including doors and drawers, helps to even the surface and make the paint long-lasting. First, prepare a painting station and arrange all your painting tools to prime your cabinet. You can turn your basement, garage, or backyard into a painting station. Also, if you have a sawhorse, you can use it to support the doors and drawers for coating with primer or paint.
Step 7: Look for Drips While Continuing with Priming
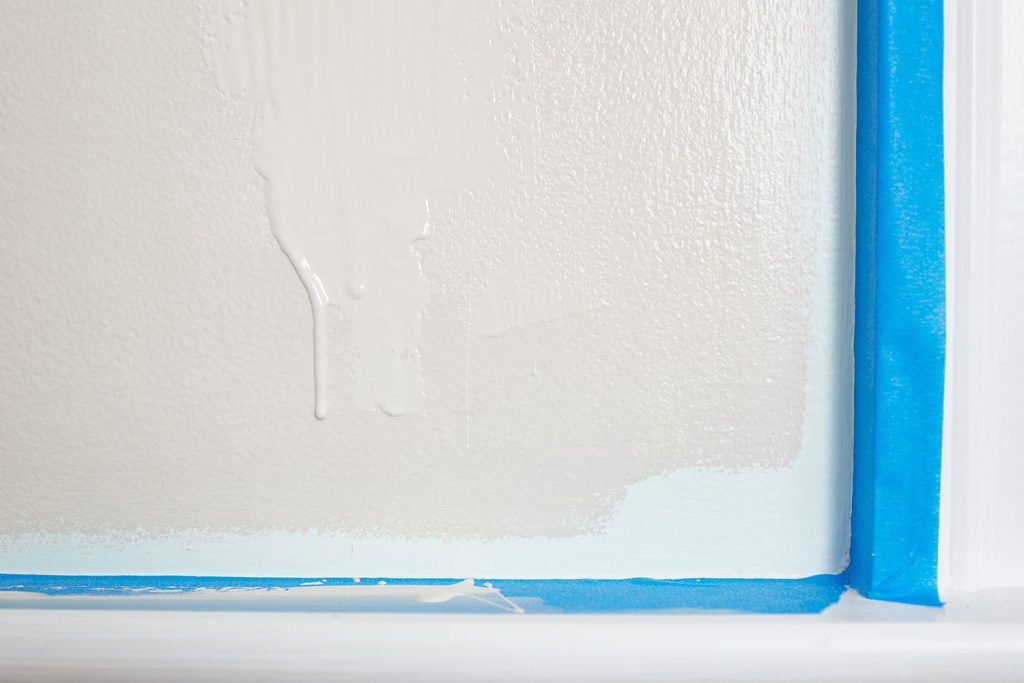
Priming is one of the most crucial steps in painting your cabinets. You must cover the surface of your cabinet with primer before painting cabinets white. You must be careful while you prime your cabinet’s wood and cover all the nooks and corners. You can use a small foam roller to prime the flat surfaces and a paintbrush for grooves. Also, do not miss to cover the front and back edges of your cabinet doors and drawers with primer. Looking at the cabinet surface from different angles will help you identify whether you left any drips. It is better to check when you are working with the primer. If you notice it later, you have to sand it with sandpaper to make it even, or you will end up with a bumpy, uneven painted surface.
Step 8: Prime Both Sides of Your Cabinet Door
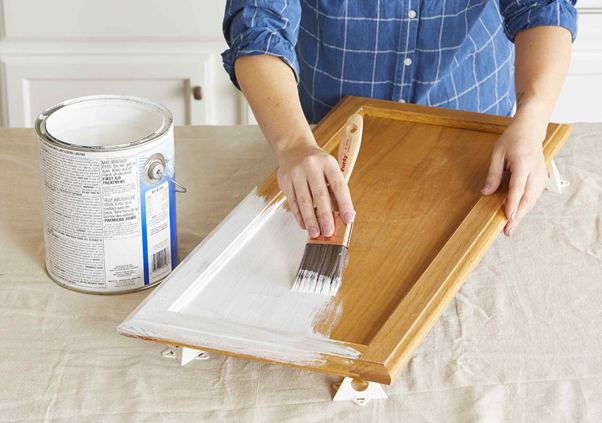
People often leave the back of the doors and drawers unprimed or unpainted, but that looks weird when you use them. We recommend priming and painting both sides of your cabinet doors and drawers for an even and professional look. Also, prime the doors and drawers from back to front, providing more time for the front side to dry and get the smoothest finish. First, prime the backside of the door or drawer and then flip it to coat the front side.
Step 9: Let the Primer Dry

You must not hurry while priming your cabinet doors and drawers. Read your primer container to know the dry time. Once you coat one side of the doors and drawers, leave them to dry completely. Most primer needs one day for complete drying, but if you hurry and flip it to coat the other side, you will ruin your hard work. You can use the time and prime your cabinet boxes.
Step 10: Start Painting with An Enamel-Based Latex White Paint
Once you finish the priming phase and all the primed doors and drawers are dry, you can finally begin your cabinet painting. For painting cabinets white for your kitchen, you can use premium quality enamel-based latex white paint such as Rust-Oleum 1993502 Painter’s Touch latex white paint. It is a semi-gloss paint and works well on kitchen cabinets. Follow the same method as you used for priming. But also remember to clean the brush and use a new roller while moving from prime to paint.
Step 11: Use A Second Coat of Paint
You can opt for a second coat for a smoother and richer finish. But always dry the first coat completely before adding another coat. Also, keep your brush clean while painting cabinets white, or it will ruin your paint. If you like, you can add a third coat; just let the paint dry before you combine all the parts. Like primers, you can read your paint container to know the dry time of your color and ensure you do not touch them earlier. Once the paint is dry, add all the hardware parts, like hinges and knobs, to assemble your cabinet back.
Equipment You Need to Paint Cabinets White
Before we discuss some common tips for painting cabinets white and making your kitchen more enjoyable, we will share a detailed list of supplies and equipment you need to paint.
- Fine sandpaper – We recommend 220 fine sandpaper for sanding purposes.
- Deglosser – We recommend Klean-Strip QWN285 deglosser for quality deglossing.
- Semi-gloss Latex paint – Our choice is Rust-Oleum 1993502 Painter’s Touch latex semi-gloss white paint.
- Latex primer – We recommend ZINSSER 1 qt 02004 White primer for painting cabinets white.
- Brush – Try ½ angular trim brush or similar brushes from Wooster, like Wooster Q3108-2 Softip Paintbrush.
- High-density foam roller (small) – The high-density foam rollers are essential for a smooth finish while painting large cabinets.
- Roller handle – Keeping an extra roller handle is helpful, especially if it is extendable.
- Painter’s tape – Scotch Original Multi-Surface Painter’s Tape can be an ideal option for painting kitchen cabinets.
- Mini paint tray – You must get a mini paint tray to begin your DIY painting project. It will help you do the task cleanly and neatly.
- Spray paint/ Hinge – You can choose between Spray paint and a new set of hinges depending on your choice. If you are comfortable with spray paint, you can paint your existing hinges to match the fresh paint. But if you are not good with spray paint, you can replace your old hinges with new ones.
- Drilling tools – You can get some screwdrivers or drilling machines for removing and reinstalling cabinet doors for paint.
- Mapping tool – You need a marker and some paper to map your painting project and create a blueprint for the work.
- Caulk and caulk gun – These are also optional, and if you want to do caulking by painting cabinets white, you can opt for them.
- Other tools you may need – Disposable gloves, putty knife, scrub sponge, zip-top bags, felt feet, vacuum, microfiber cloth, etc.
Certain Tips to Paint
Painting your kitchen cabinets is a fun DIY project to revamp and make them more attractive. But before you get your hands on it, learn some valuable tips to make your painting cabinets white easier and more fun. Following are some helpful tips you can try to paint your cabinets.
- Always use a de-glosser to clean the cabinet surface before printing.
- Refrain from over-painting your cabinet. Scrub off all old gloss and paint before printing.
- Use gloves while using de-glosser or paint.
- If you wish to spray paint your cabinet hinges and knobs separately by white priming or painting cabinets.
- Do not choose sandpaper with less than 220 grids.
- Always dry clean your brushes and change your foam rollers when moving from prime to paint.
- Be careful while choosing your paint and primer for painting cabinets white in the kitchen, and always go for trusted and high-quality products.
Summing It Up
All in all, painting cabinets white for your kitchen helps you enhance its beauty and gives the place a formal look. Also, you can choose different tones of white like SW pure white, Bher polar white, SW Alabaster white, BM simply white, BM white dove, and more. Painting cabinets is also an easy way to revamp your kitchen and give it a fresh look. You can take this opportunity to brush up on your painting skills and have a fun DIY project to upgrade your kitchen cabinets.
Painting your kitchen cabinets as a DIY project is an easy and cost-effective way to brighten your kitchen interior. Today we have shared a detailed guide on painting your kitchen cabinets with our expert tips. You can even change the existing cabinet’s color to white for a complete makeover without sanding or priming the cabinet.
So, excited to give it a try? Get your painting tools ready and revamp your kitchen cabinets this weekend.
Frequently Asked Questions
How is Beneficial Painting a Kitchen Cabinet?
It depends on the current condition of your kitchen cabinets and the result you are looking for. If your kitchen cabinets are in the right shape and the core structure is fine, you can opt for painting the cabinets white to make them brand new again. But if it has damages like cracked or swollen, they may need repair or replacement instead of painting.
Which is Better for Painting Cabinets – Paint Brush or Roller?
Both paint brushes and rollers are helpful for painting cabinets, and you can choose any of them according to your need. But you should remember that paint brushes are useful for painting nooks and corners of the cabinet, while rollers are suitable for flat surfaces. So, you must have them both for an easy and hassle-free painting experience.
Which Type of Paint is Best for Kitchen Cabinets?
You can find various options when choosing the best paint type for your kitchen cabinets. But the enamel-based latex or semi-gloss paints are ideal for kitchen cabinets as they are water, scratch, and rust resistant and can withstand heat and moisture well. We recommend Rust-Oleum 1993502 Painter’s Touch latex white paint for kitchen cabinets.
Can I Find Different Shades of White for Painting My Kitchen Cabinets?
Yes, of course! You can get different tones of white for painting kitchen cabinets. From SW Alabaster white, SW pure white, BM simply white, BM white dove to Behr polar white, BM highly reflective white, and so on. But remember to pick a tone that goes well with your kitchen interior to make the most of it.
What is the Best Method of Repainting Kitchen Cabinets?
If your cabinet surface is in the proper condition, you can follow the steps discussed here to repaint your cabinet. You can go for sanding, de-glossing, priming, and then painting. But if you wish to change the color only, you can opt straight for painting and skip the sanding, de-glossing, and priming parts.